Showing posts with label classroom organization. Show all posts

Thursday, July 11, 2013

Student INB Calendar

In my quest to design an awesome interactive notebook for my Geometry students, I thought it wouldn't be complete without a calendar that students can use to write down assignments and due dates.  I created 16 pages which will be copied 2 to a page and front/back.  On each of these 4 pages, there is a page that has "glue to your INB" and 3 calendar months...see below...


Pages will be copied upside down from each other so that when you fold and flip August up, you will see September and October inside facing the correct direction.


I have taped them onto notebook paper and put them in a 3-ring binder.  Since I'm still designing the INB, I want to have the flexibility to move pages around and add them as needed.  My calendar pages will be at the back of the INB.


The calendar is Monday thru Friday, August to June.  I made it only weekdays to allow more space for each day.  You can get a zip file from my TpT site.  The file contains an Excel version (so that you can customize your events prior to printing), a pdf version (to print and allow students to write in all events) and a Word doc (explaining the printing, photocopying and gluing).

Wednesday, July 10, 2013

Word Wall Pocket Chart

A couple of years ago, I found these online and asked my school to buy a couple for my classroom.  Well, apparently, they liked my idea of using them as a word wall so much that they bought several and gave them out to anyone that wanted them for their classroom.

At the beginning of last school year, I bought a pocket chart stand to hang it since the Command hooks wouldn't hold it on my freshly painted walls.  I used butterfly duct tape to divide it into 3 subjects.  That summer, I had bought a lot of word strips from Dollar Tree, so an idea was born.  I put them in "rainbow order" because that's what I do...I know, OCD!  (I passed it on to my girls, too!  They always put their crayons, colored pencils or markers in rainbow order before they could start coloring!!  Hope they pass it on to my grandchildren, too!)

On the right in the pic, is a lime green shoe organizer from Walmart.


Close-up of shoe organizer with trays of word strips.  The letter sticker on the end is for the subject.
Close-up of tray of word strips organized by subject and section.
Close-up of words on the word strips for the first section of Geometry.
Here are 9 more handled trays for other miscellaneous items.  Three fit perfectly into each plastic magazine holder.
 Another angle...
I got these from Big Lots with no particular plan in mind for (I think) $1.80 each.  I found them on the same aisle as the hotdog containers, cracker containers, etc.

There are even 2 of them in my medicine cabinet at home.  I look for more every time I go into Big Lots, but haven't found any lately.

Small Pocket Chart Idea

Before I had a chance to start this post, I saw this on Pinterest using a small pocket chart to hold journal prompts.  Last year, I bought 4 small pocket charts from either the Target Dollar Deals or Dollar Tree.  I shop at both frequently and many times my purchases become a blur!

The ones I bought are purple, blue, green and red (wish they had yellow because my subject colors are purple, yellow and green).  You can see 2 of them below hanging on awesomely strong magnet hooks from Lakeshore Learning in Tampa.

My plan is to create challenge problems (or take some from here) and print them on business cards (numbered).  The problems can be used as a station or whole-class.  The charts will hold 3 business cards on each row.  I will definitely use the purple (Geometry), but not sure about other colors yet.

Thursday, June 27, 2013

Got Transparencies?

At the end of the year, when everyone was cleaning out and moving, I was offered lots of old stuff that others didn't need.  I hate to throw stuff away if there is ANY way I could repurpose it!  Well, when they offered me transparencies (write-on, copy and ink/laser jet), I couldn't resist.  My first thought was to cut something out using my Cameo.

A couple of years ago, I used them as dividers in my mini 3-ring binder.  So, I thought I would share pics of the mini 3-ring binder as well as a daytimer and a regular 3-ring binder.

If you have any questions, please feel free to email me!  I would love to hear comments and suggestions!


Daytimer - I cut the transparencies in half, then hole-punched using the Franklin Covey hole punch.

Mini 3-Ring Binder - cut transparencies to 6" x 9.5". To hole punch I readjusted my regular hole punch but you can use a single punch.

 Regular 3-Ring binder - used the whole transparencies and hole-punched as usual.

Wednesday, June 5, 2013

Ticket out the Door Poster

Next year, instead of using index cards for exit tickets, I am going to use post-it notes. You can get them for less money (think Dollar Tree and Big Lots) and they don't really have to stick well or for a long time.

I found a generic brand of hot pink "thumbs up" stickies at Walmart and had a great idea!  I would apply the stickies to a poster board, apply numbers and a title, then laminate. When students leave the room they will stick the post-it to their number on the poster.


I created my vinyl numbers and title on the Silhouette Cameo my hubby bought me for my birthday last year! After an expensive trip to Michaels, I had the perfect pinks for the title!


Thursday, April 25, 2013

Ideas for Next Year

It's always around this time of the year that I start thinking about the next year.  I write pages and pages of ideas, mine and those "borrowed" from other teachers (Thank you blogs and Pinterest!!).  Two years ago, I kept it all in a word document, which I reprinted last year and adjusted.  Last year, I used most of a 70-page spiral.  Since we can not use electronics during FCAT End of Course Testing, I couldn't use my computer.  As I proctored for 6 days (3 for Algebra 1 and 3 for Geometry) in the computer lab, I fantasized about how I wanted my room to be organized and decorated.  On my walks around the lab, I would stop by and write an idea or sketch a picture.  Over the next 3 months, I would read and reread my notes, changing and tweaking til I thought it was perfect.

Well, I have pulled out last year's spiral and printed the previous year's ideas.  The big difference is that I am supposed to be moving rooms at the end of this school year.  We will find out the first week in May if they will be starting demo of half of our old school and construction of the new one on the same land this summer or next.  I have been promised an existing room on the other side of the school, since my room will be in the first phase of demo.  A couple of other teachers will be placed in existing rooms, while 7 others will get rented portables.

I am extremely excited about my "new" location.  It's not quite as big as my room now, but is laid out a little better (has a foyer and an attached office).  The principal told me about the relocation a month ago and due to my slight, ok not so slight, OCD, I have made a floor plan of the room with 6 different arrangements in MS Excel.  Here is one of them... The left side of the room will be for students daily.  The right side is where my desk and supplies will be located along with occasionally used student computers.  BTW, Lys (on pic in pink) is my daughter Alyssa.  She uses my room as her locker because I am conveniently located.  The green rectangles are 2 (1.5'x2') tables.


Here are the wall layouts with ideas...


I will post pictures as I clean and organize the new room.


Friday, November 16, 2012

Flip Chart Observation File Folder


A great way to record students’ behavior, absences, tardies, bathroom passes, preparedness, etc. is to create a flip chart using a file folder and index cards (enough for one per student plus a few extras).

I use colored folders to coordinate with my class color (yellow- Math for College Readiness, purple- Geometry and green- Precalc) and 3”x5” index cards.

Place the open file folder on a flat surface and start at the bottom on the left, leaving about a half inch.  Turn the index card upside down so that the pink line is at the bottom and place a small piece of tape at the top.  Line your next card up on the pink line of the first and tape it down (don’t use glue).  Continue until you have half the number you need or you reach the top.  Then, do the same on the right side of the file folder.

Write students’ names at the bottom of each index card.


I keep my folders in a file folder pocket chart clipped to the side of my podium for easy access.  Some years I will change the cards each nine weeks and others I will change them at the end of each semester.  I simply take an X-Acto knife and cut the tape to remove them.  Then, I file them away until the end of the year.

Flip Chart Observation File Folder

Thursday, July 19, 2012

Classroom Pictures (Linky)

 This challenge will be posted for 2 weeks.  After that, I will have a different challenge for each of my 3 preps (Geometry, Precalc & Math for College Readiness).  Worksheets will be placed in a manila envelope for each one.  When it is turned in, I will grade it and keep it in hanging folders I have for each student.  It will count as an extra point or two on the next test.
 The yellow trays are where each class will turn in their Exit Cards.  I used these last year and really liked them.  The green dishpans are for their workbooks, which I don't allow them to take out of the classroom.  If I assign a workbook page, they tear it out, hole-punch it and keep it in their binder.
 I bought composition books from Big Lots for 39 cents and put one in each folder.  Students will use these as a journal as well as to demonstrate to me (one-on-one) how to solve a problem.  They will have to write out what they did in each step for credit.  These, too, will stay in my room.
 The black container on the side of the shelves will hold make-up work.  BW stands for bellwork.  Everyday students will pick up a bellwork sheet, complete it in the first 5 minutes and turn it into another set of yellow trays to the right of my door (see below).

 These containers will hold my stations.  Students are required to complete 2 stations per week.  I will post pics of stations I have created on my next blog post (many ideas from Pinterest).  They will be used primarily for review, but on occasion I will throw in something new.
 My assignment board...I have used one every year I have taught (12 yrs).  I fill it in at the beginning of the week, but students know it is subject to change.  To the right, I post all upcoming tests about a week in advance.  Quizzes are spontaneous.
 I laminated an extra piece of fabric (left over from covering a table), die cut letters and hot glued it all to my wall.  The blue sheets are my rules and procedures.
 BAV stands for Building Academic Vocabulary, but if the students want to think of it as "BA" vocab, that's fine!  Whatever gets their attention...LOL!  I used a cute butterfly duct tape to divide my pocket chart into 3 preps.
 Here is the fabric covered table.  I've been told I am getting 2 student computers, so I set up this spot for them.  Not sure if they will be desktops or laptops, but I have plenty of room either way.
 I LOVE BUTTERFLIES and turquoise and lime green! Under the window, I hot glued 3 posters I created demonstrating Cornell Notes.  One is descriptive and the other 2 are examples in math.  Check out the tissue papers balls...from Pinterest!
 I am an organizer and a self-proclaimed container freak!  I love the Dollar Tree and they love to see me walk in!!!  I spend a lot of money there, but not as much as if I bought the stuff at other stores.
 My desk and more organization.  This area is taped off with lime green duct tape on the floor to show students that they are not allowed to be behind my desk.
 My poster wall...I bought one of these posters and made or printed the rest.  My philosophy is that I will have informative posters around the room for students to read at their leisure.  Then when it's time to learn the material, it will seem familiar to them.
 The rings are 3 of the stations I will be using.  In the folders, I will keep and master sheet and an answer sheet for every station, filed by topic (polynomials, circles, order of operations, etc.)
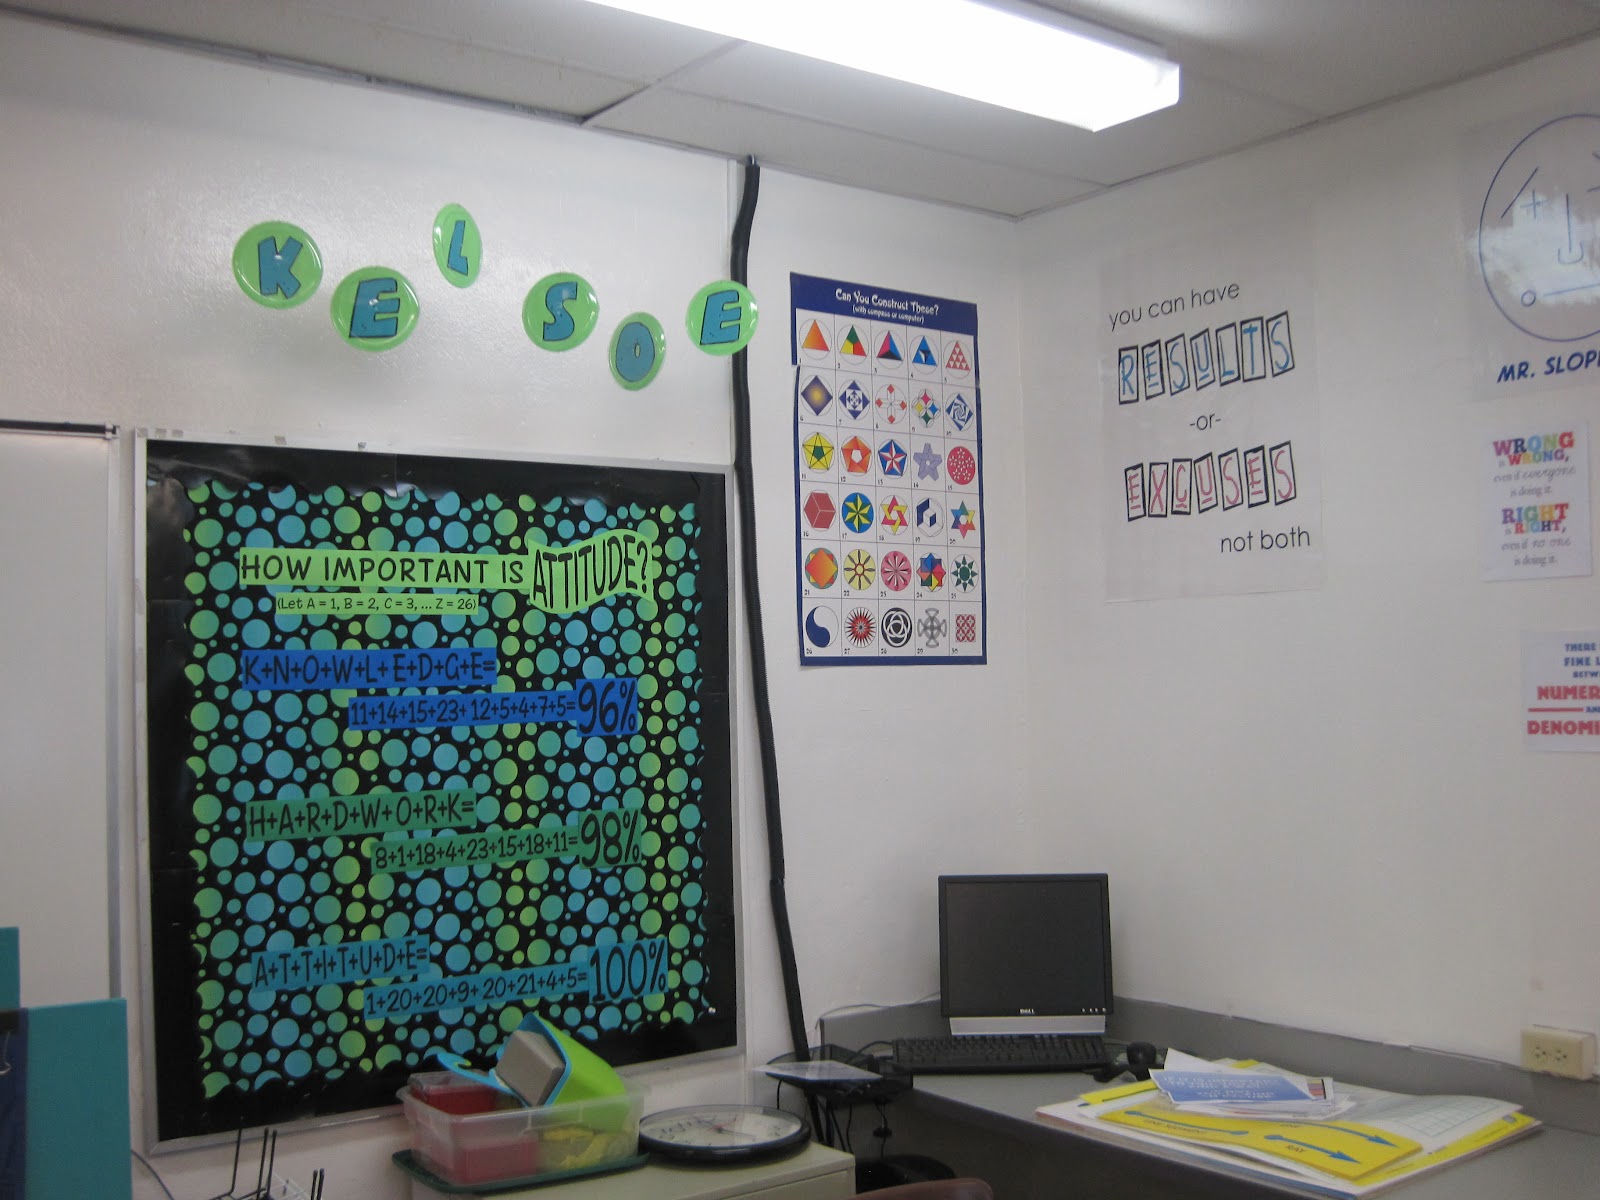
 Pinterest has given me so many ideas for this year.  The saying "You can have RESULTS or EXCUSES not both" came from a pin.  I made it in Word, then used our poster printer to enlarge it.  The disadvantage to using the poster printer is that it prints in one color.  Knowing that, I used an outline font, printed the poster, colored the letters, then laminated it for a more colorful look.
 I like this board, but I really need some black paper to go behind the colored paper so it is easier to read.  I ran out of my black scrapbooking paper, so I gotta make a trip out of town.
 I also enjoy using pocket charts.  This blue one contains folders for my organization: attendance, book lists, new student packets, referrals, etc.
 The red pocket chart contains class folders, colored coded and numbered by period.  The colored ones are flip charts I made using index cards.  If a students has a minor discipline issue or is tardy or absent, I keep those notes in here.  I take them with me to parent conferences.
 One tip I learned 12 years ago from a former elementary teacher (THANKS KEL!) is to laminate posters, then hot glue them to the wall (only if they are concrete!).  The hot pink poster is about test corrections.  It was made using our poster printer, black "ink" on hot pink.
 More posters below the board...the "Sharpen your Pencils" poster came with another for a dollar at, wait for it, Dollar Tree!
 Yet another pocket chart... When a student misses a test, their name on a index card goes in this chart.  This year, I am going to have them sign up (on the calendar under the apple) to take their make-up test after school.
This is posted on my door for Back to School Night next Thursday.  I used http://qrcode.kaywa.com/ to make my own QR codes, one for parents and one for students. Idea is from Pinterest.
This is the view from my door (prior to putting up the butterflies and tissue paper balls).  These desks are new to my room.  I'm looking forward to more group activities and these desks will be easy for the students to move.
This is the view back the other direction.  My door is to the far right in this picture.

If you'd like to follow me on Pinterest, here's my link: KelsoeMath